
9 July 2026
How to Import Bank Statements into QuickBooks
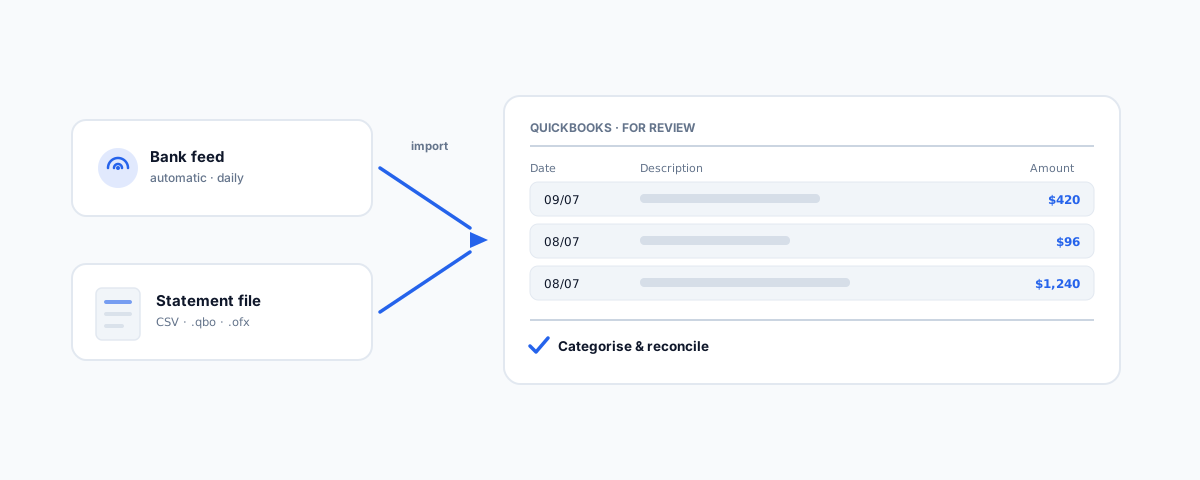
Two ways to get bank transactions into QuickBooks Online — automatic bank feeds and manual file import — with the file formats that work, how to map the columns, and how to avoid duplicate transactions.
Getting your bank transactions into QuickBooks is the foundation of keeping your books current — every reconciliation and BAS figure depends on it. There are two ways to do it: let QuickBooks pull transactions automatically through a bank feed, or import a file you download from your bank yourself. Most of the time the feed does the work, but you will still need the manual import for older transactions or banks without a feed. Here is how both work, and how to avoid the duplicates that trip people up.
Bank Feeds vs. Manual Import
The best option, where it is available, is an automatic bank feed: you connect your bank account to QuickBooks once, and transactions flow in daily on their own. It is less work and less error-prone than any manual process, so set it up first if your bank supports it.
You still need manual file import in two common situations: when your bank does not offer a feed, and when you need transactions older than the feed provides — feeds typically only bring in around the last 90 days, so historical data or a gap has to be imported from a file.
How to Import a Bank Statement File
To import manually, first download the statement from your online banking in a format QuickBooks accepts — CSV, or one of the bank formats .qbo (Web Connect), .qfx, or .ofx. Then in QuickBooks Online:
- Go to Transactions → Bank transactions (or Banking).
- Select the account, choose Upload from file (under the dropdown or Link account), and select your downloaded file.
- Pick the QuickBooks account the transactions belong to.
- If it is a CSV, map the columns — tell QuickBooks which columns are the date, description, and amount (and whether debits and credits are one column or two).
- Review the transactions and finish the import.
The transactions then land in your "For review" list, ready to be categorised and matched.
Getting the File Format Right
CSV imports fail most often on formatting. Make sure the date format matches what QuickBooks expects (Australian DD/MM/YYYY can be misread as US MM/DD/YYYY), that amounts are clean numbers without currency symbols, and that there is a single header row. If a CSV keeps erroring, downloading the statement as .qbo/.ofx instead often sidesteps the mapping problems entirely, because those formats carry the field structure with them.
Avoiding Duplicate Transactions
The classic mistake is importing a file that overlaps with what the bank feed already brought in, leaving every transaction in twice. Before a manual import, check the date range you already have and only import the gap. If duplicates do slip through, QuickBooks flags many of them, and you can exclude or delete the extras from the "For review" tab before they hit your reconciliation.
Categorise and Reconcile
Importing is only step one — the transactions still need to be categorised (assigned to the right account) and then reconciled against the statement balance so your books match the bank exactly. Setting up bank rules to auto-categorise recurring transactions saves a lot of repetitive clicking once your feed is running.
Getting Help
If your bank feed will not connect, your CSV imports keep erroring, or your books have drifted out of step with the bank, our Small Business IT Support service can get the data flowing correctly and your accounts reconciled. And while you are tidying the financial side, it is worth confirming your data is backed up properly — QuickBooks Online is not as protected from data loss as most owners assume.